Daisy Mea
Brief
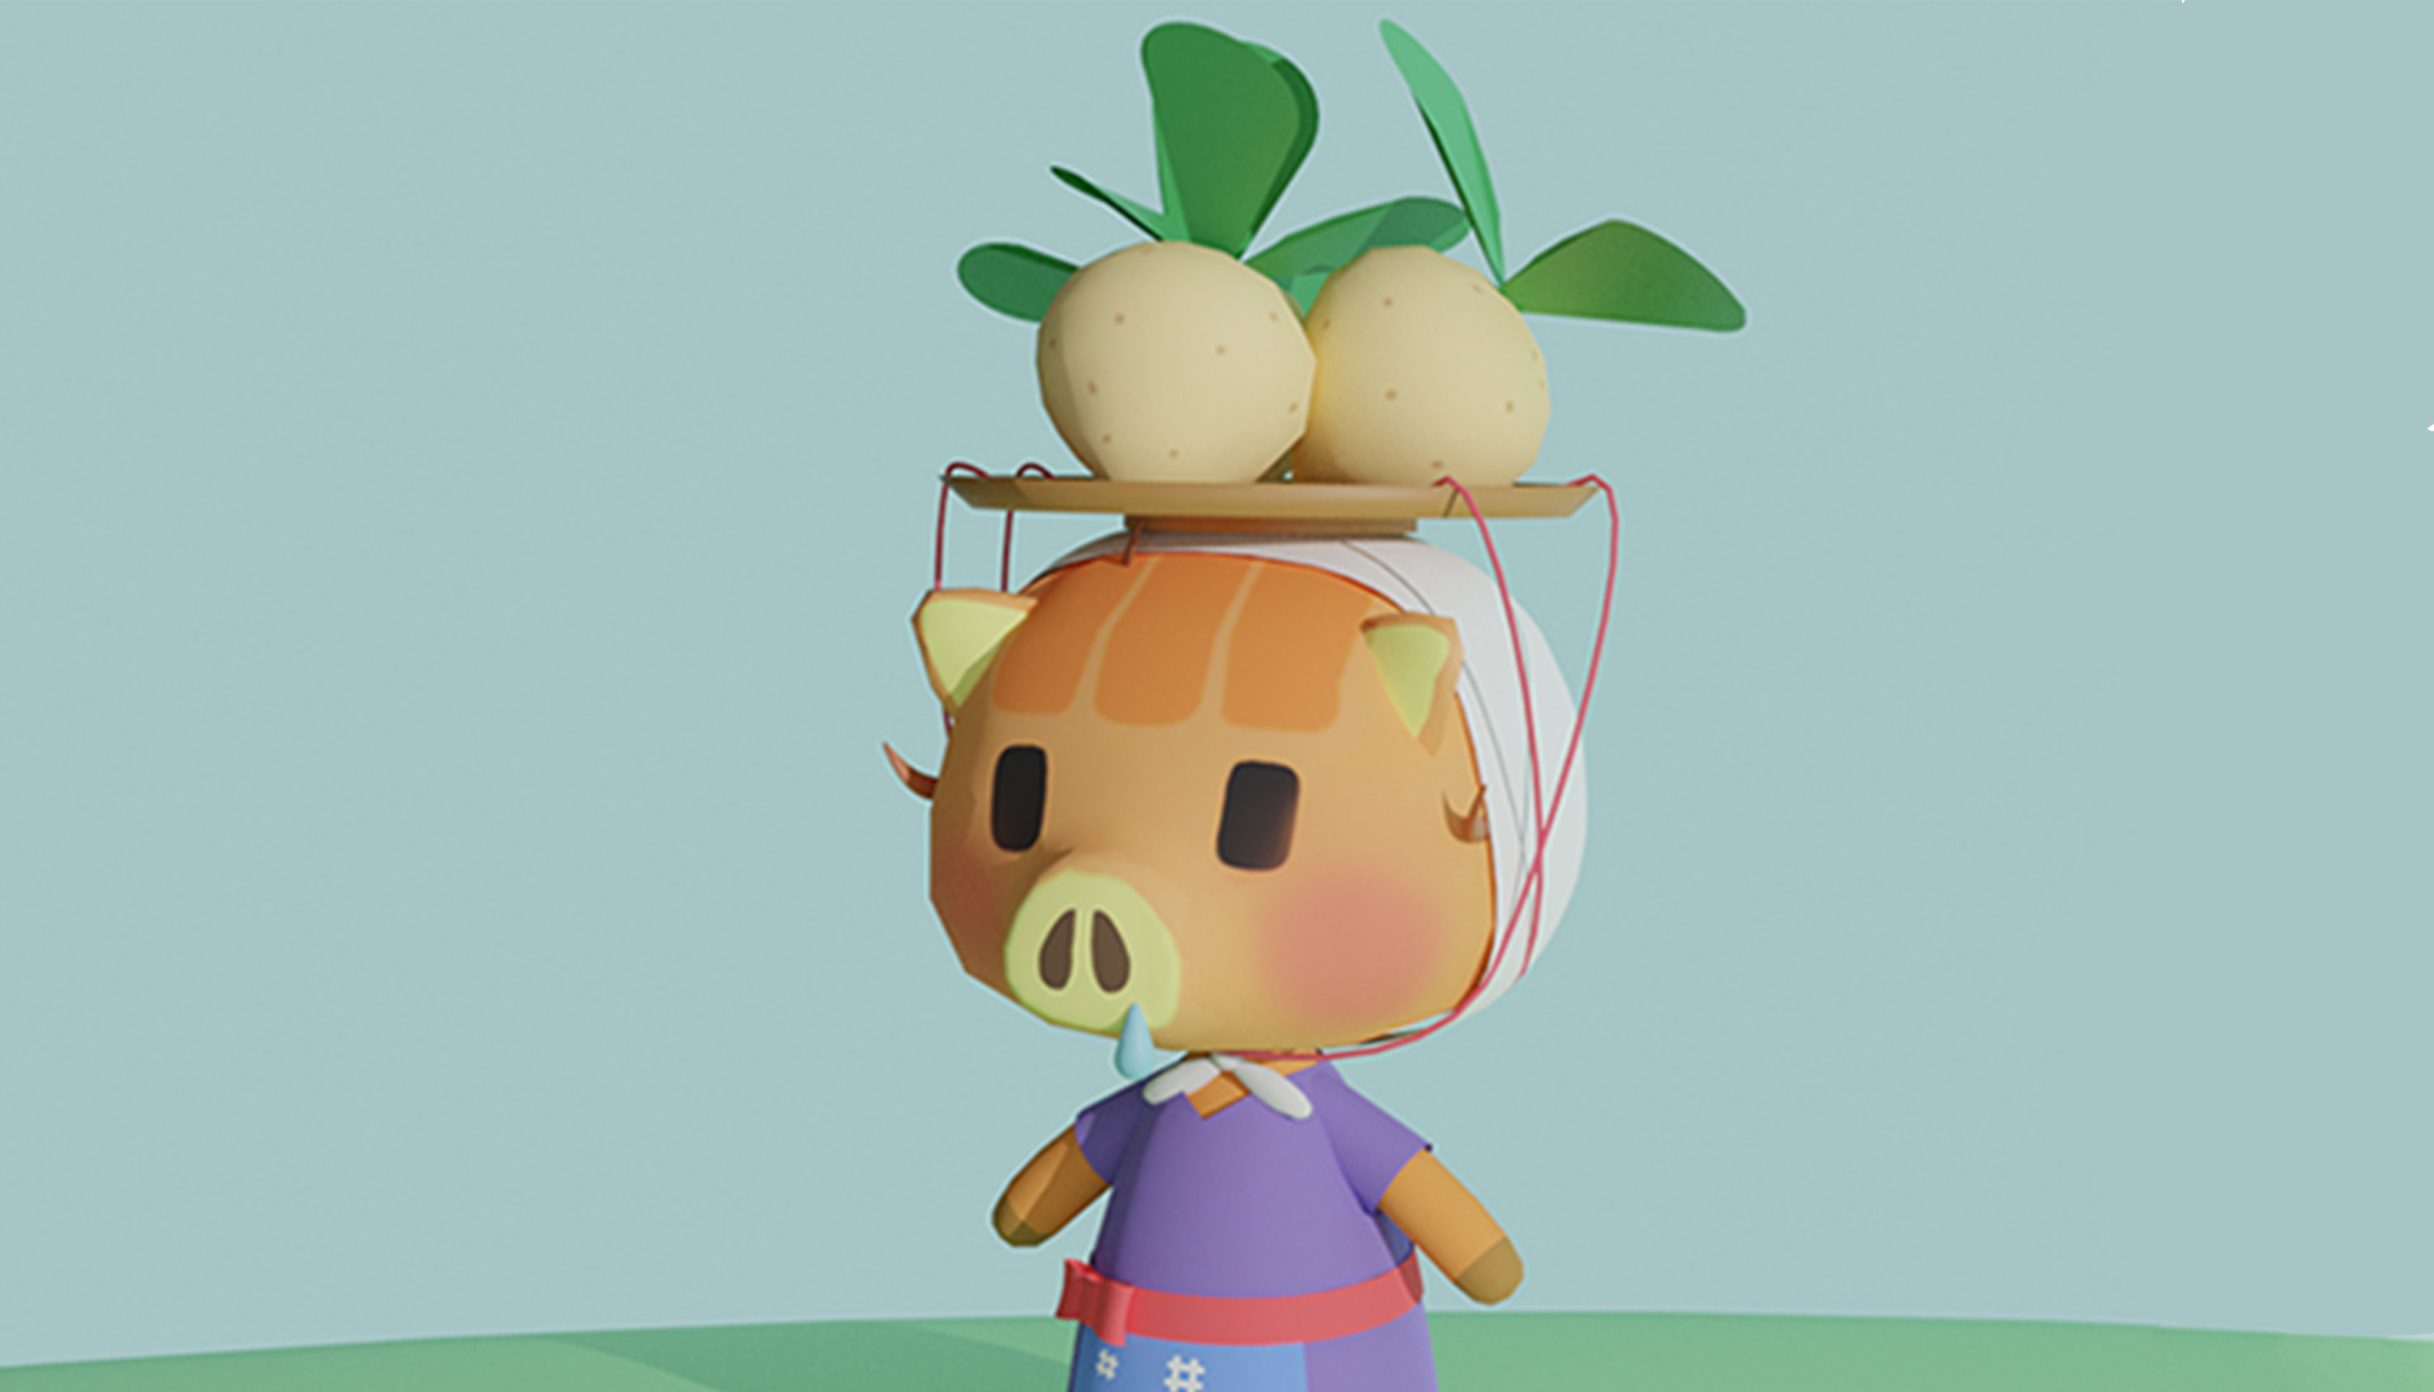
Create a 3D model of an Animal Crossing character called Daisy Mea with a max poly count of 2,500.
Goal
Finish the whole model under a 2500 poly count.
Role in Project
3D Artist
Software
Blender 2.90
Head
Head & Features
Hat
Straw base
Turnip & Leaves
String Warp
Body
Body creation
UV & Texture painting
Final Render
Before and After
Conclusion
Head & Features
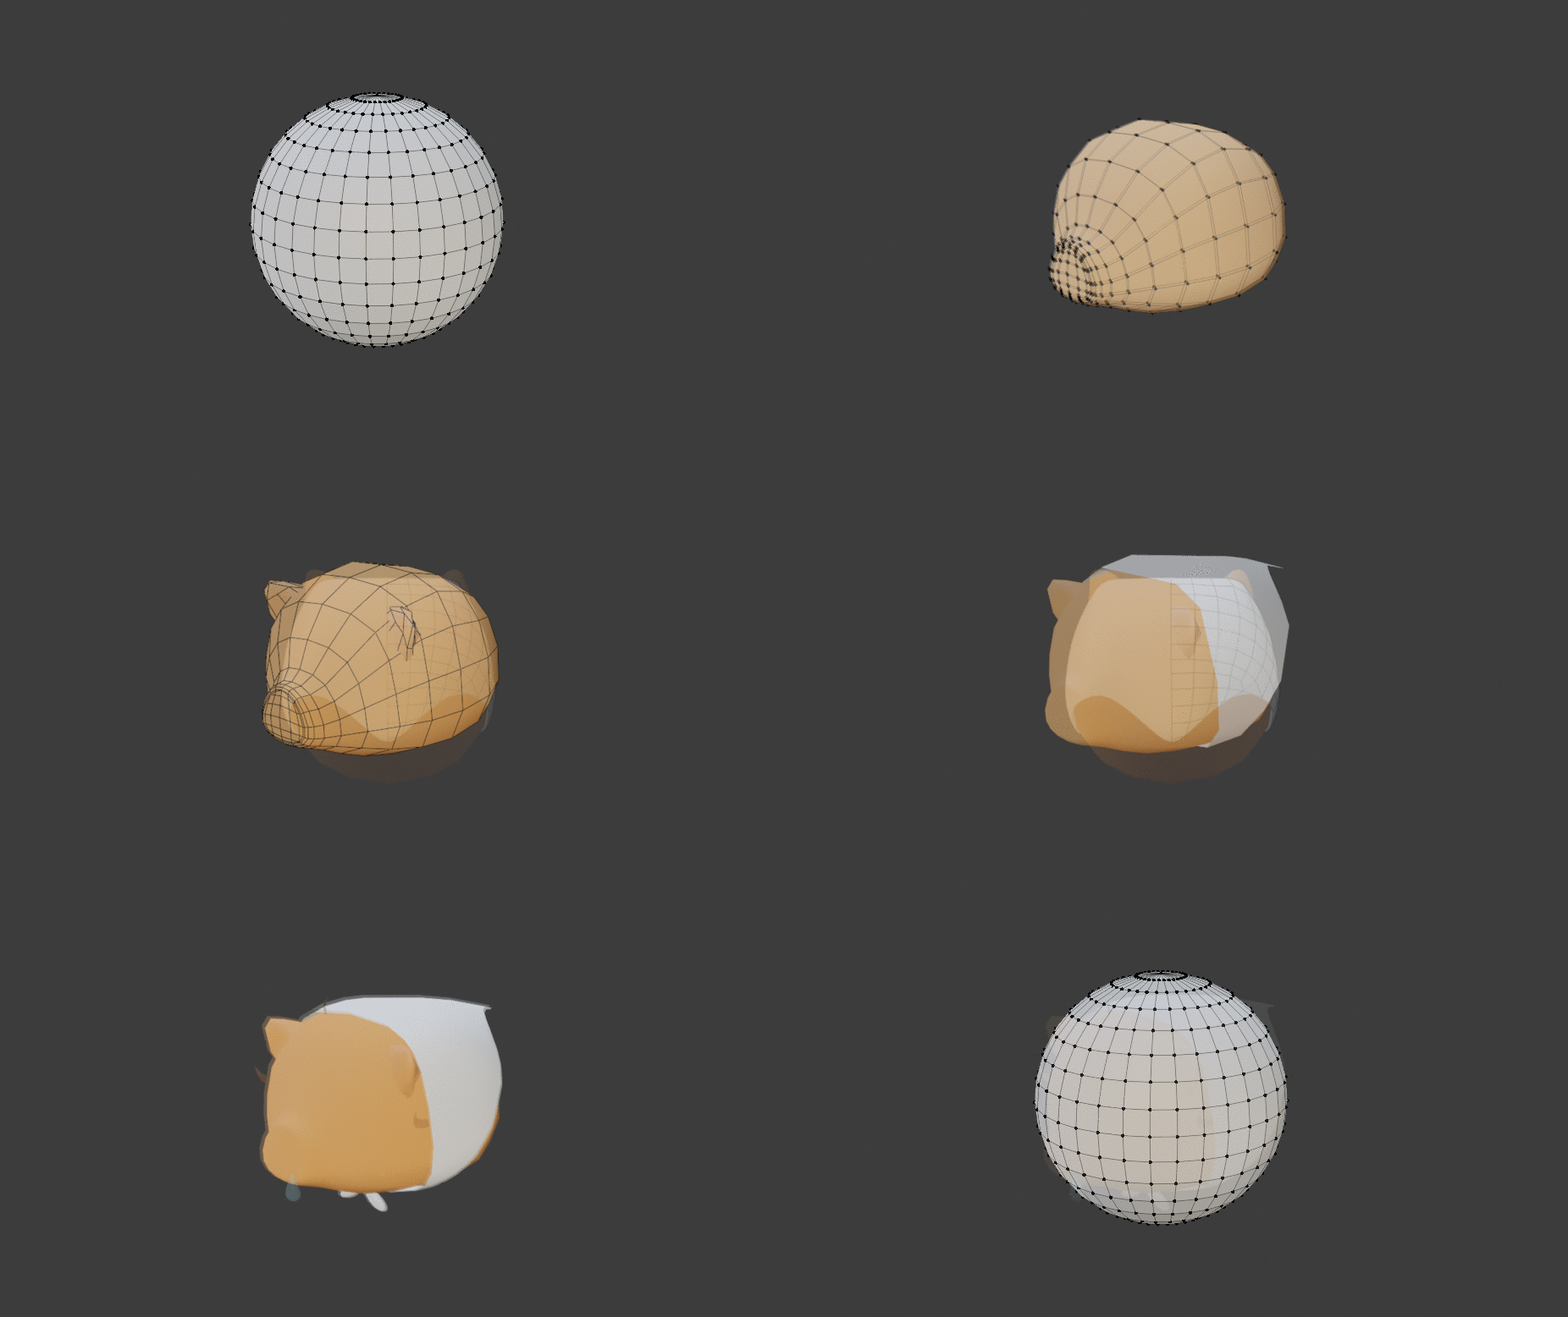
I started with a UV sphere and set the number of segments to 13, reducing the number of faces. With reduced faces, I cut the sphere in half and added a mirror modifier, meaning both sides of the head will be the same when I begin my altering the head. I began to rearrange the vertices in vertex mode, using the proportional editing tool to make sure all vertices were adjusted at the same time, speeding up my time. This was finished with Shade Smooth.
When the head shape was made, I assigned an orange colour and began to create the ears. The ears consisted of a cube that was subdivided and adjusted using proportional editing. Unfortunately, due to this being my first project, I didn’t document too much of the process and it was mainly me playing around until I found what worked.
The cloth hat was created using a plane. Once again I added a mirror modifier and began my modelling. I subdivided the plane and used the proportional editing tool to warp the plane around the head. This was finished by going into vertex mode and readjusting the curve at the back to create an end point.
To finish the head, I created all of Daisy Mea’s facial features, such as a horn and her nose drip. To make the horns I began extruding a cube to create a curve. This was followed by extending vertex points far out, making the curve look somewhat sharp. Finally, I added a subdivision modifier to smoothen the curve out. I also added a mirror modifier with the target set on the head, meaning it will always centre the head.
The small nose drop was simply made with a UV sphere set to 8 segments, and finished by using proportional editing on 1 vertex, making a drip.
Key Notes:
- Try not to apply all modifiers as you cant go back! You may want to make some alterations later on.
Hat
Straw Hat
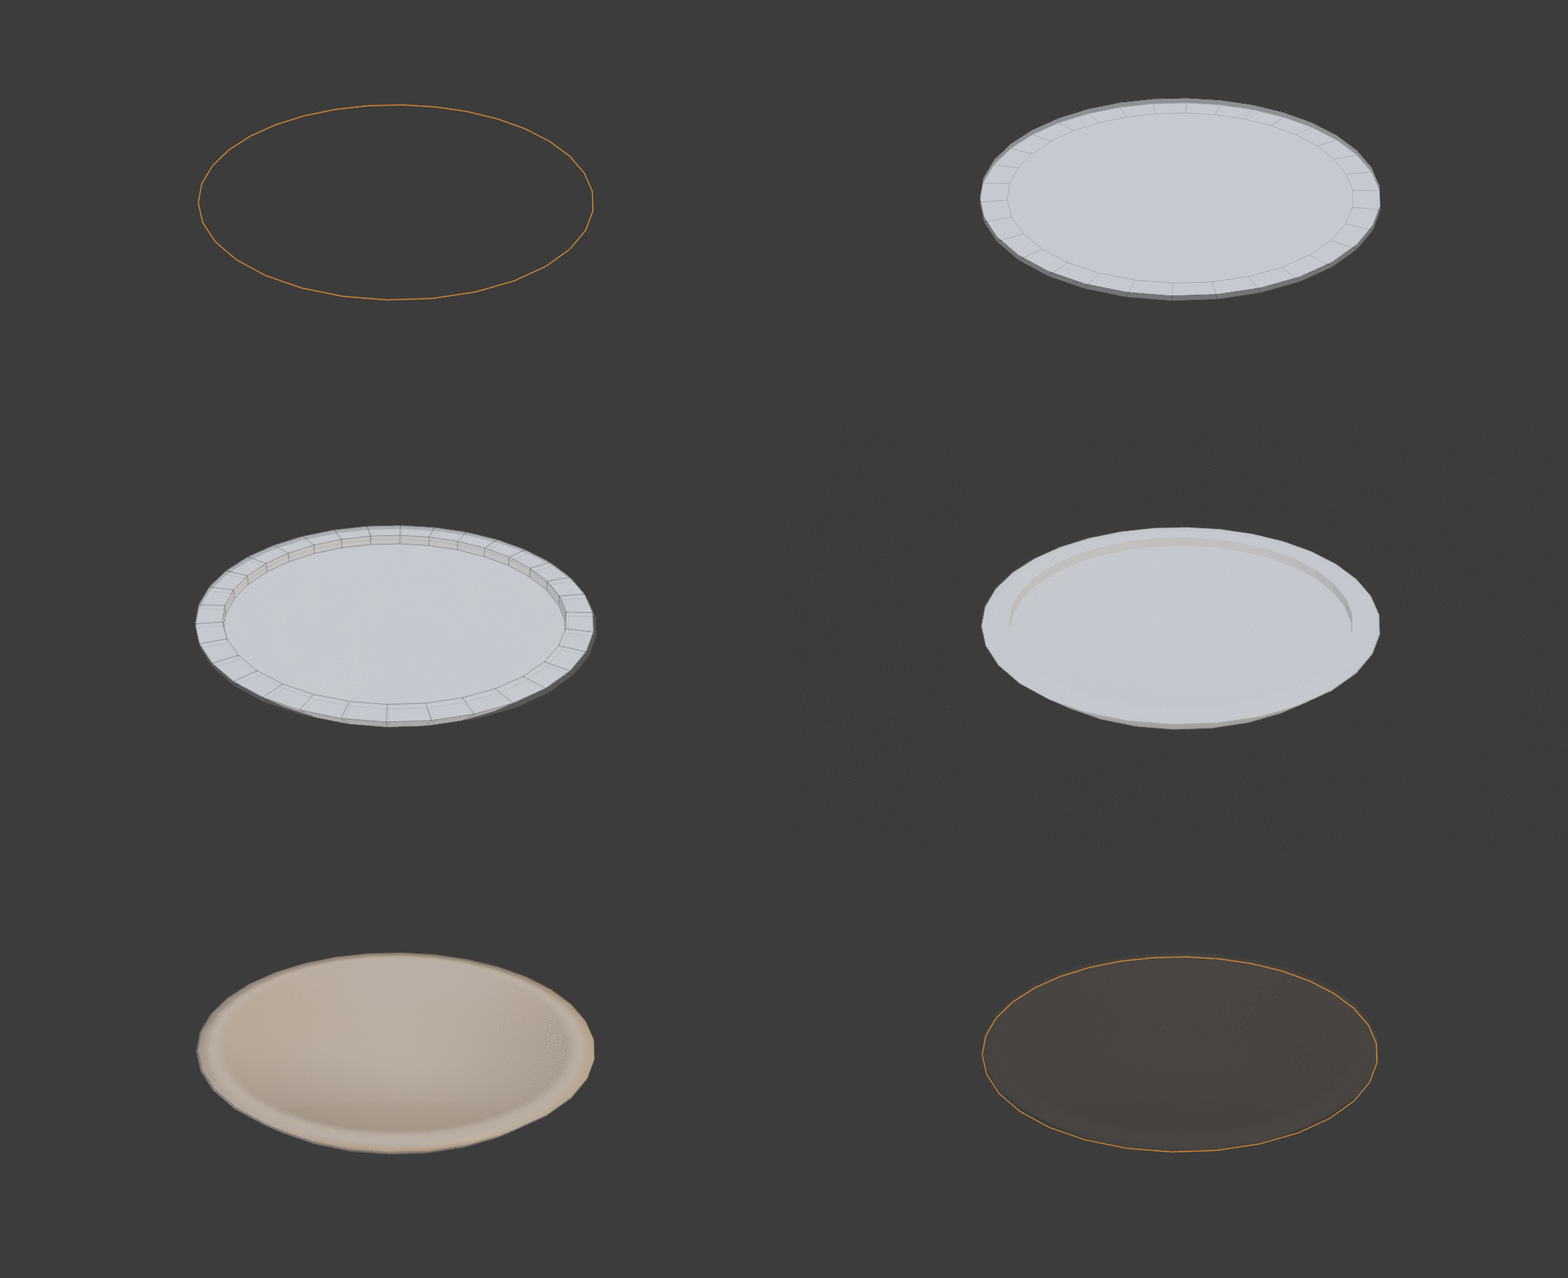
When creating the hat, I filled a circle with 36 vertices, still trying to keep it to a minimal amount. Using the Insert tool, I created and inserted inwards all the vertices, creating a grid going around the circle. This allowed me to then extrude the faces and finish by assigning a brown colour and shading it smooth.
Turnip & leaves
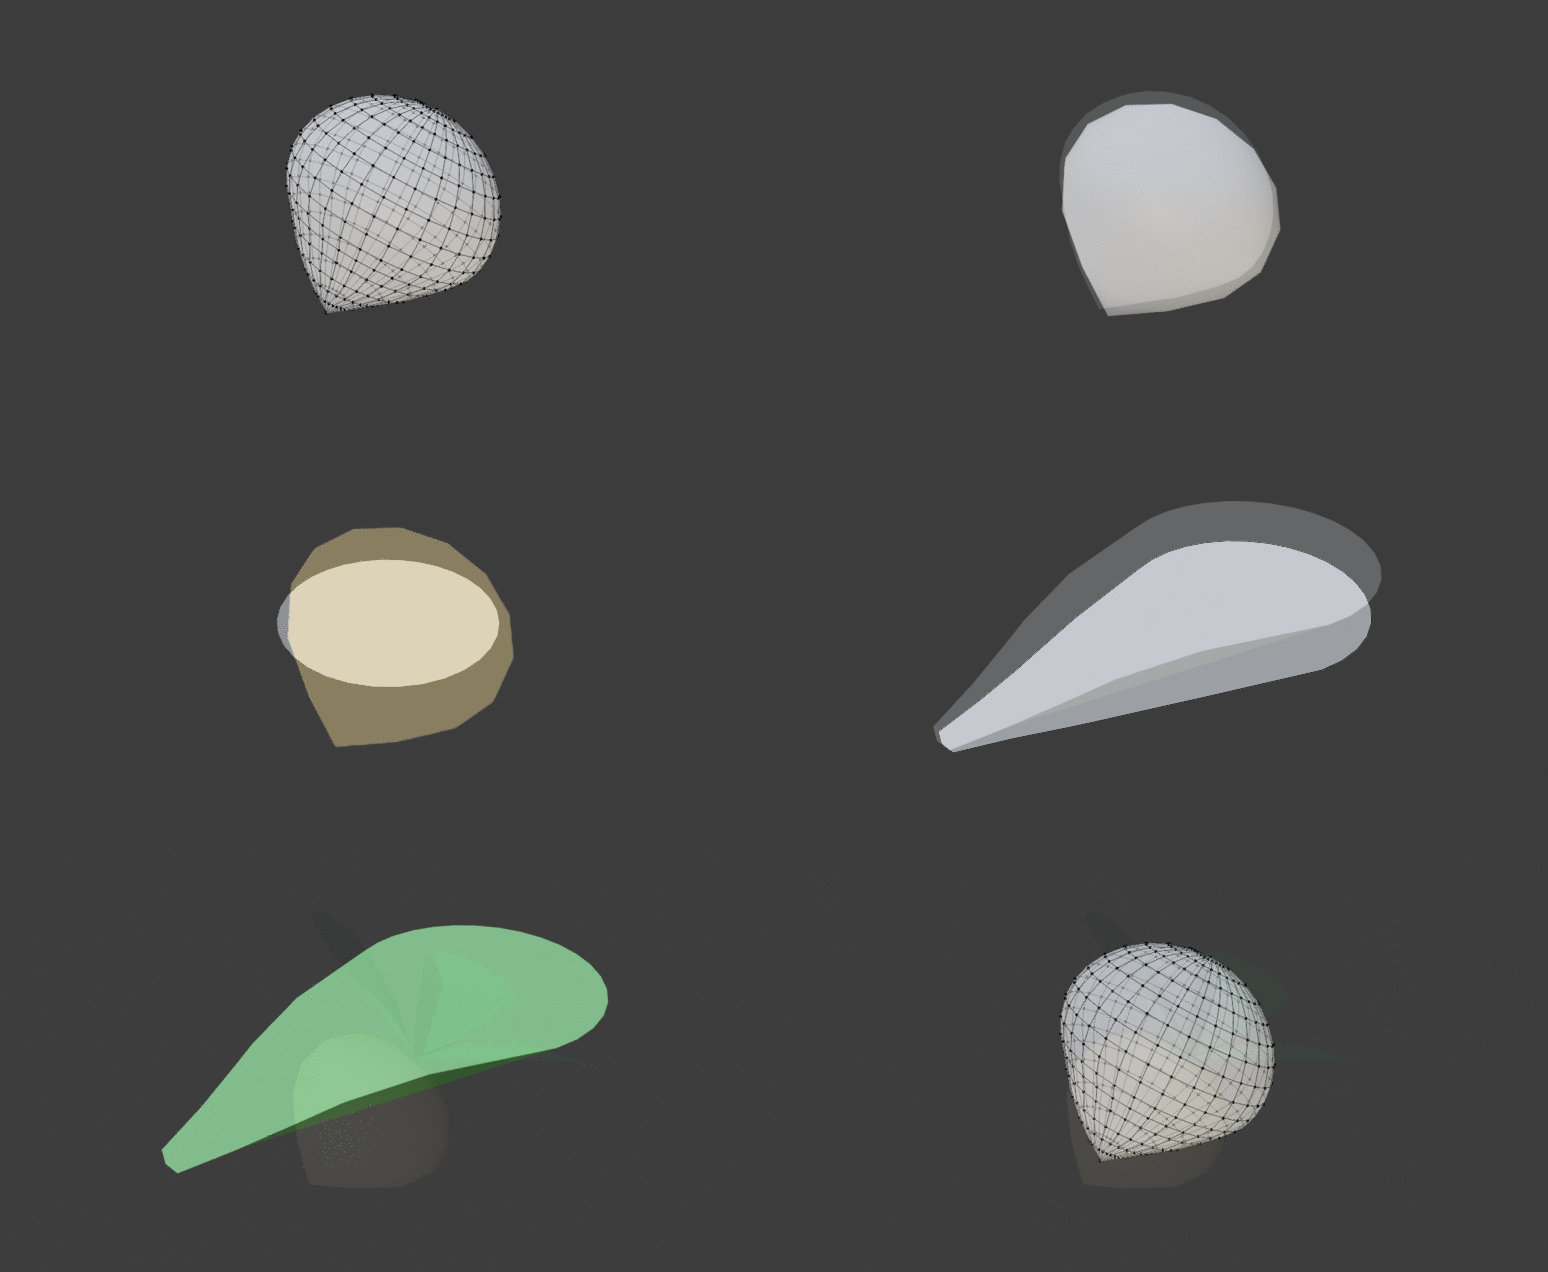
The turnip was also made using a UV sphere, however this time I used the decimate modifier. This allowed me to unsubdivide the shape or collapse the faces to a ratio. This modifier was really useful as it meant I could keep control of the detail on shapes, making it easier to stay below 5000 tris. This was finished with a colour assigned to the shape and shaded smooth, since I will focus on UV mapping later in the project.
The leaves were one of the simpler things to create. I started with a filled circle and began readjusting the vertex points using proportional editing. This allowed me to move multiple points at once, create a nice curve. Once I flattened out the bottom, I selected both sides of the leaf and moved them up using proportional editing, making sure some of the leaf followed to create smooth curves.
String Wrap
The strings were defiantly interesting to make since this was a new skill I learned! I discovered a brand-new feature called Bezier, located in Add > Curve > Bezier. This allowed me to create a long tube that can be bent in all kinds of ways, whilst being able to change the depth in Object Data Properties > Geometry > Bevel. It was quite simple and interesting setting up the Bezier curves, making sure it wrapped neatly around the head, back into the hat.
Body Creation
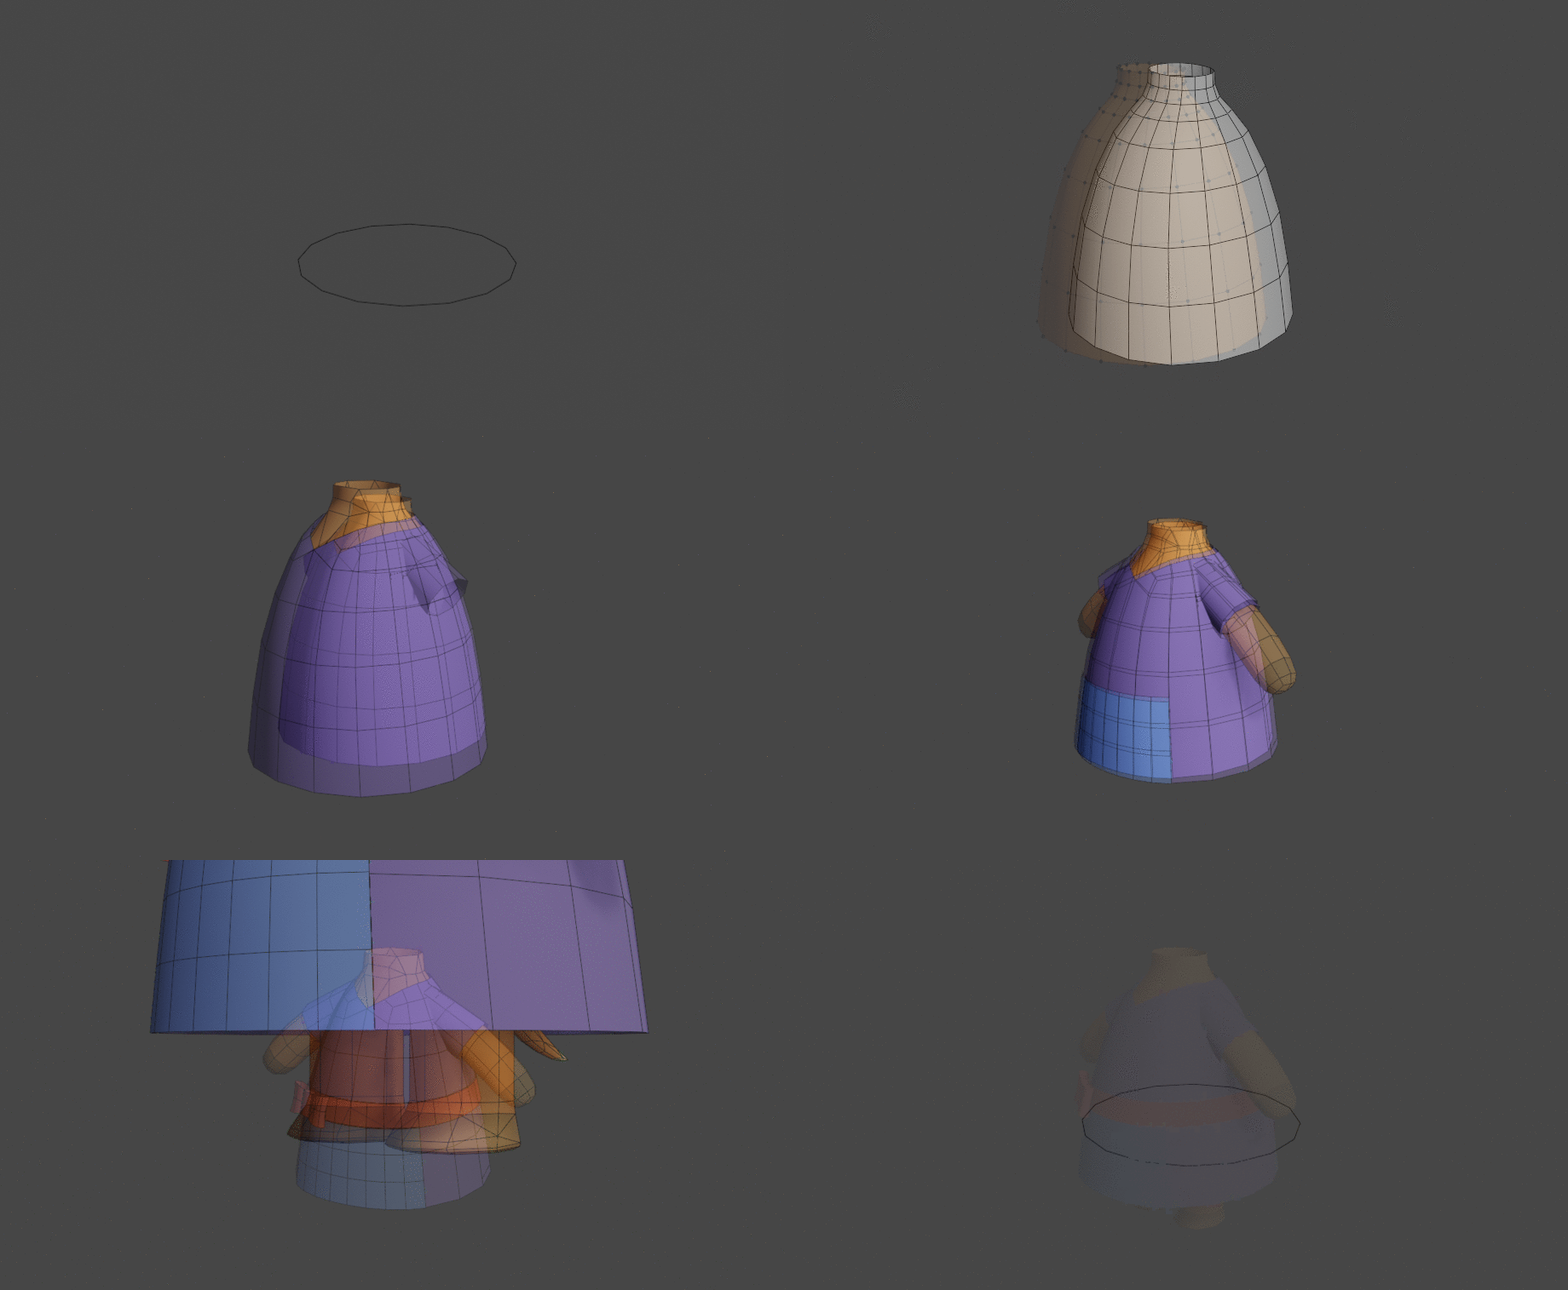
Starting from the base, the body was made using a circle with 16 vertices. In edit mode, I extruded and scaled down each section, all the way to the top where I readjusted the scaling to add a neck. After assigning the same orange colour, I copied the whole-body using shift + D to create the dressing and assigned a purple colour. The sleeves were done by extruding a circle twice.
To make the apron, I selected the front 8 faces of the dressing and subdivided it, allowing me to assign a new colour to it. The ribbon was made by extruded circles that were scaled in a single axis, making it flatter to display a bow shape when attached together. The red tie round was also done in the same way as the apron, subdividing and reassigning colours.
Lastly, the feet and hands were created by a small segmented UV sphere that has been stretched out using proportional editing. The flatness of the feet was completed by using the loop cut tool, scaling down an edge to create feet.
UV Unwrapping & Texture Painting
Since this was my first project, I wasn't aware that there were various ways of UV unwrapping and texture painting, so this method won’t be used in future projects as it can create pixelated outcomes.
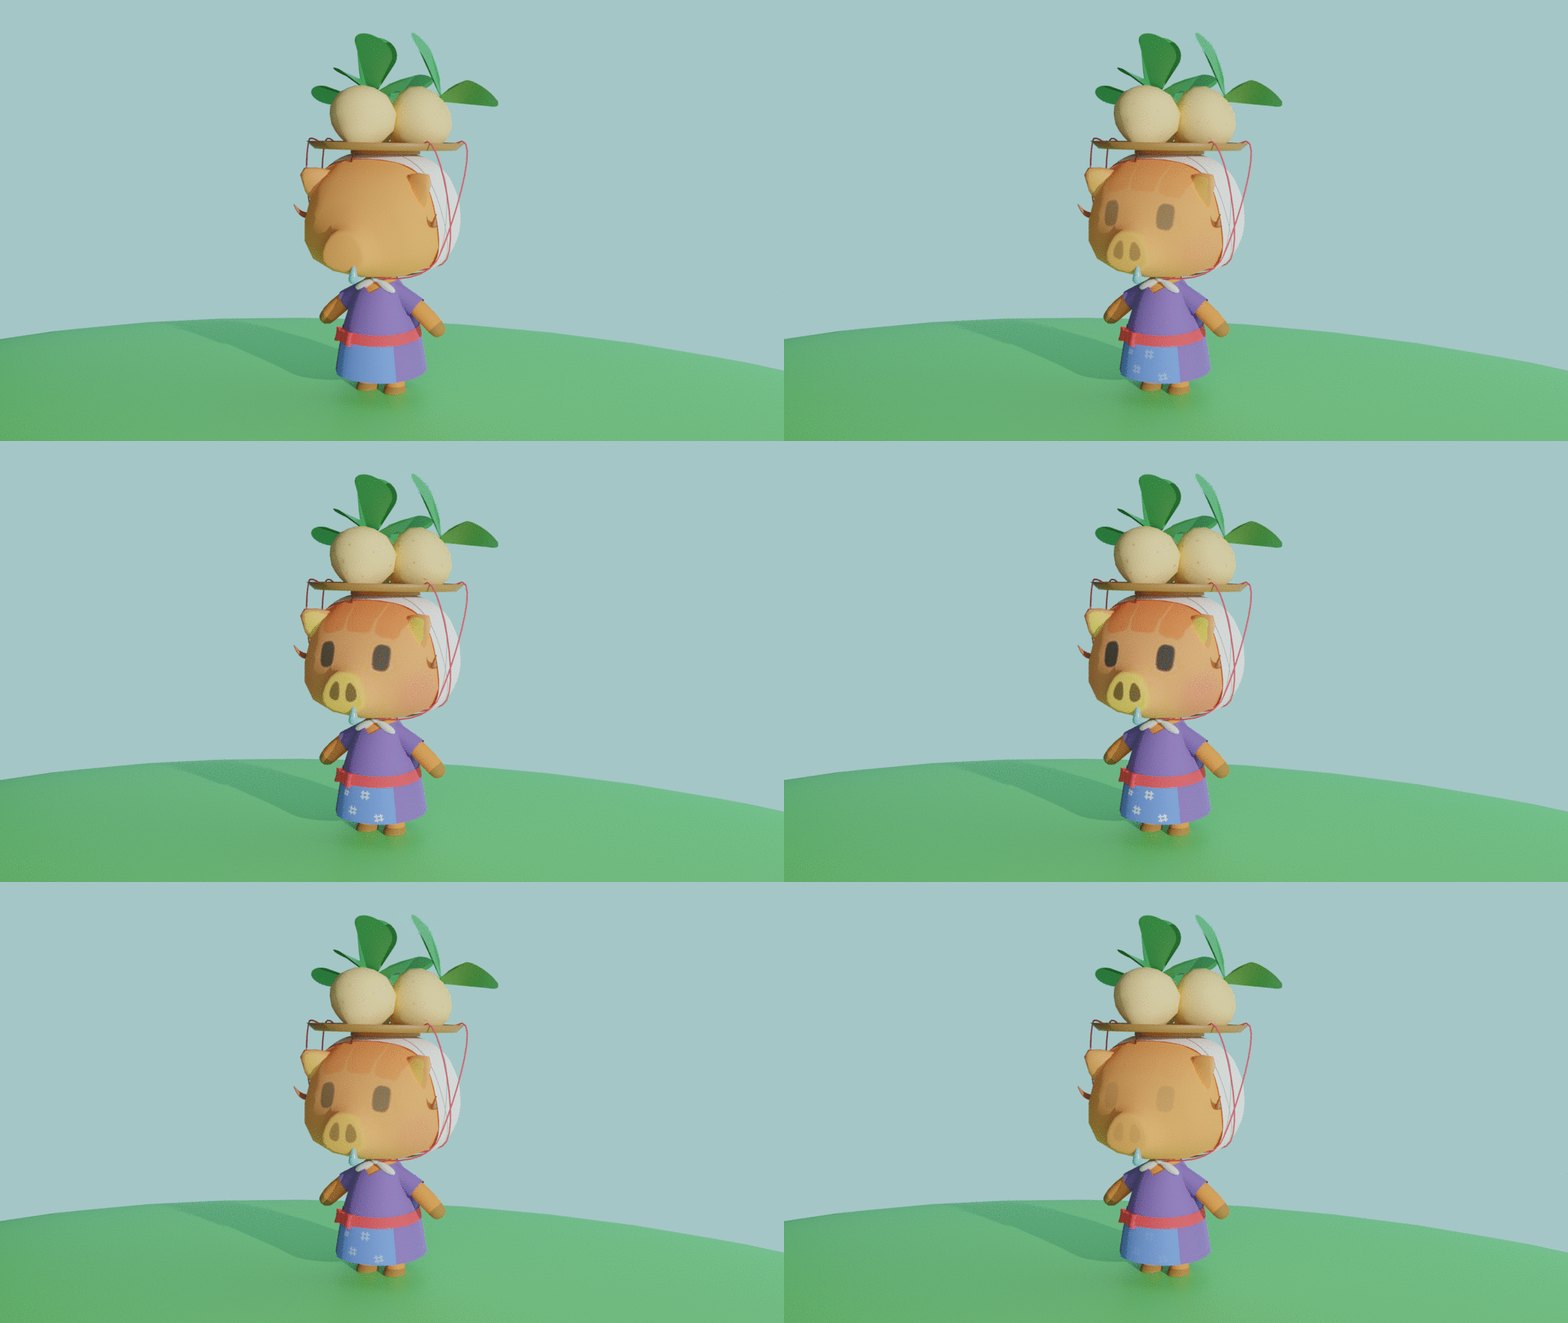
I started by UV unwrapping the mesh of the head whilst attaching a solid orange colour around it. I found that it was easier to visually paint on to the model at the time since I can see exactly how it would look. I painted using symmetry on the X axis to make sure that both sides were equal, which was very handy. I followed process of visual painting for the ears and the turnips.
Rendered Result
Before and After
Overall, I am proud of the outcome of this project as I managed to finish with a 2477 poly count! I really enjoyed learning new techniques, gaining a better understanding of all the Blender features. I didn’t have much expeirnce with Blender before, so learning along the way was very fun and I couldn't be more satisfied!